Do you want to learn how to make a beautiful doll cake step by step? This comprehensive guide will help you create a stunning doll cake, perfect for birthdays and special celebrations. With simple instructions, tips, and answers to common questions, you’ll master the doll cake making process and become an expert in no time!
How to Make Doll Cake Step by Step? (Doll Cake Instructions)
How to make doll cake step by step? If this is a question you’ve been asking, you’re not alone. Doll cakes are a popular choice for birthday parties, especially for little ones who love princesses. Making a doll cake can seem intimidating, but with the right steps, tools, and techniques, you can make a beautiful doll cake without much hassle.
In this article, we will guide you through everything you need to know about making a doll cake from scratch. From gathering your ingredients to decorating the final masterpiece, you’ll find all the information you need. Let’s dive right in and learn how to make a doll cake step by step!
Why Make a Doll Cake?
Making a doll cake is a creative and rewarding experience. Here are some reasons why you should consider making one:
- Perfect for Celebrations: A doll cake is the ideal centerpiece for birthdays or themed parties. It adds a special touch that makes the celebration more memorable.
- Fun and Customizable: You can customize the cake to match the theme of the party, using different colors, decorations, and designs.
- Great Baking Project: Learning how to make a doll cake step by step can also be a fun baking project to do with your kids. It helps them learn baking skills while allowing them to express their creativity.
In the following sections, we’ll walk you through each step in detail so that you can confidently make a stunning doll cake.
Step-by-Step Guide to Making a Doll Cake (Doll Cake Making Tutorial)
1. Gathering Ingredients for Doll Cake Tutorial
Before you begin, it’s important to gather all the necessary ingredients and tools. This will help you stay organized and ensure a smooth baking experience.
Ingredients:
- 2 boxes of cake mix (any flavor you prefer)
- Eggs, oil, and water as per the cake mix instructions
- Buttercream frosting or whipped cream
- Food coloring (optional)
- Edible glitter or sugar pearls (optional for decoration)
- Fondant (optional for additional decorations)
Tools:
- 8-inch round cake pans (2 to 3 for stacking)
- 6-inch round cake pan (optional for extra height)
- Barbie doll or a similar doll
- Serrated knife
- Offset spatula
- Piping bags and tips (for decorating)
- Cake board or serving platter
- Plastic wrap
- Cooling racks
- Cake turntable (optional for easier decorating)
2. Bake the Cake Layers

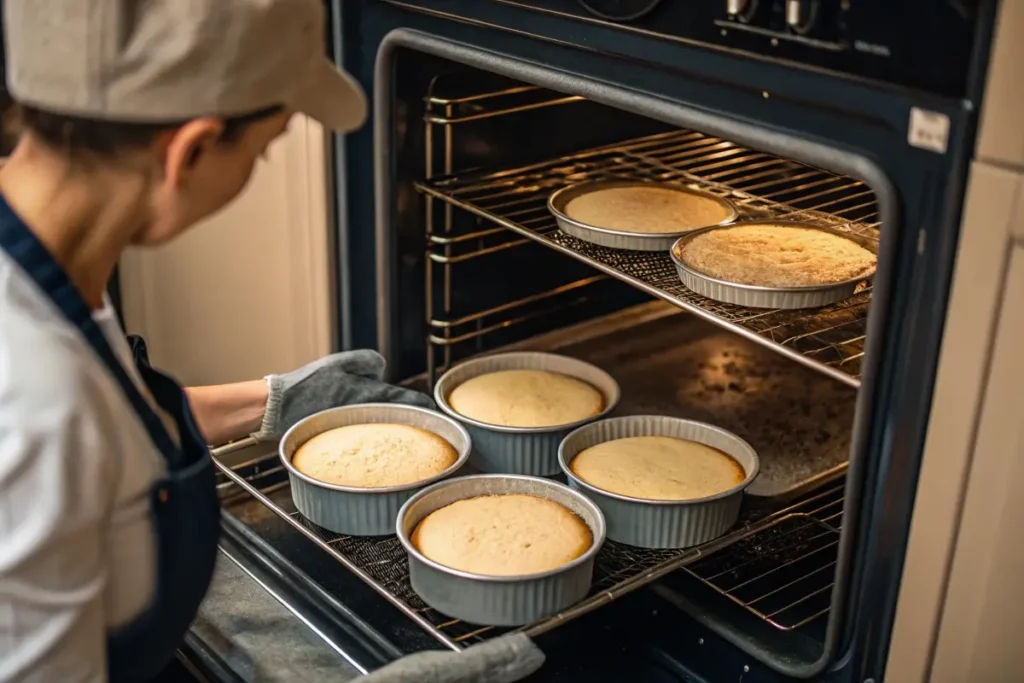
To begin, preheat your oven to the temperature specified on the cake mix box. Grease and flour your cake pans to ensure the cakes release easily. Follow these steps to bake the cake layers:
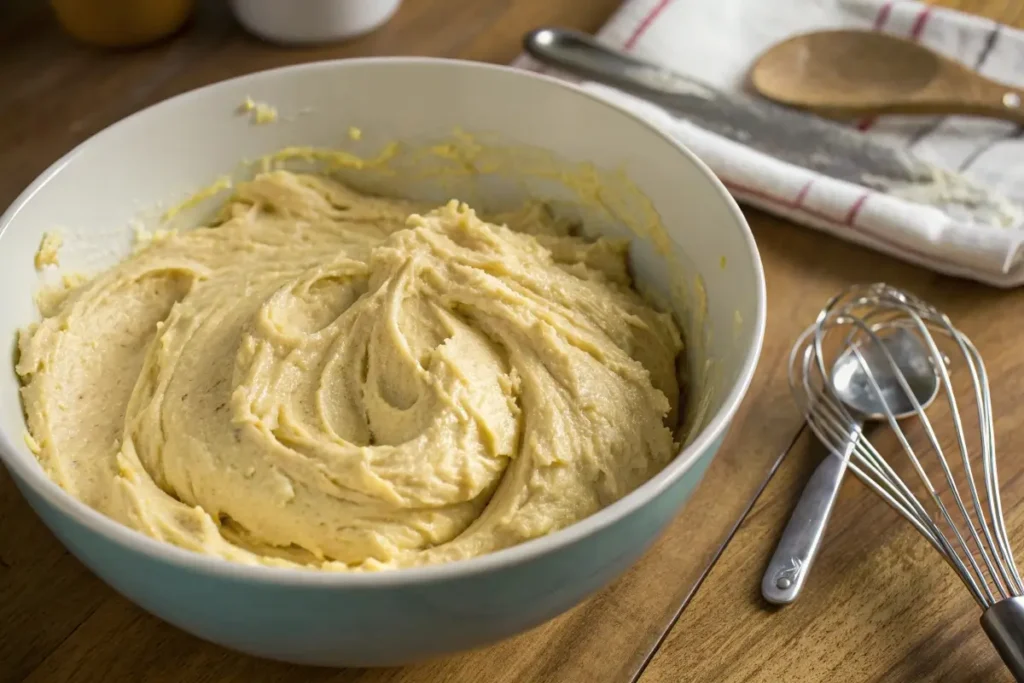
- Mix the Batter: Prepare the cake batter as per the instructions on the cake mix box. Make sure the batter is smooth and lump-free.
- Fill the Cake Pans: Divide the batter evenly between the prepared cake pans. If you’re using different-sized pans, adjust the amount of batter accordingly.
- Bake: Place the pans in the preheated oven and bake as directed. The baking time may vary depending on the size of the pans, so keep an eye on the cakes. Use a toothpick to check for doneness—if it comes out clean, the cakes are ready.
- Cool Completely: Once the cakes are baked, allow them to cool in the pans for about 10 minutes, then transfer them to cooling racks to cool completely.
3. Cool and Level the Cakes
Once the cakes are baked, allow them to cool completely on a wire rack. Once cool, level each cake using a serrated knife to ensure a flat surface for stacking.
- Trim the Tops: Use a serrated knife to trim the tops of the cakes so that they are even. Leveling the cake layers is important to create a stable base for the doll.
- Stacking Layers: Place one cake layer on your cake board or serving platter. Spread a thin layer of frosting on top to act as glue for the next layer. This will help keep the cake layers stable during assembly.
4. Assemble the Doll Cake (Step-by-Step Doll Cake Assembly)
Now it’s time to assemble the doll cake.
- Stack the Layers: Continue stacking the cake layers, adding frosting between each one. This will help the layers stick together and add flavor.
- Carve the Shape: Once all the layers are stacked, use a serrated knife to carve the cake into a dome shape, resembling the skirt of a doll. Make gentle, sweeping cuts to create a rounded effect.
- Insert the Doll: Wrap the lower half of the Barbie doll in plastic wrap to keep it clean. Insert the doll into the center of the cake. If needed, carefully widen the hole in the center of the cake to accommodate the doll. Make sure the doll is inserted securely and is standing straight.
5. Crumb Coat and Chill (Crumb Coating Tutorial)
A crumb coat is a thin layer of frosting that helps to trap any loose crumbs and provides a smooth base for the final frosting layer.
- Apply the Crumb Coat: Spread a thin layer of frosting over the entire cake, covering the carved dome and smoothing out the surface. The crumb coat does not need to be perfect—it is meant to seal in crumbs and provide a base.
- Chill the Cake: Place the cake in the refrigerator for about 30 minutes to allow the crumb coat to set. Chilling the cake makes it easier to apply the final layer of frosting without disturbing the crumb coat.
6. Frost and Decorate the Cake
Now comes the most exciting part—decorating the cake!
- Apply Final Frosting: Once the crumb coat is set, apply a thicker layer of frosting. You can use an offset spatula to create a smooth finish or add texture to the skirt, depending on the design you have in mind.
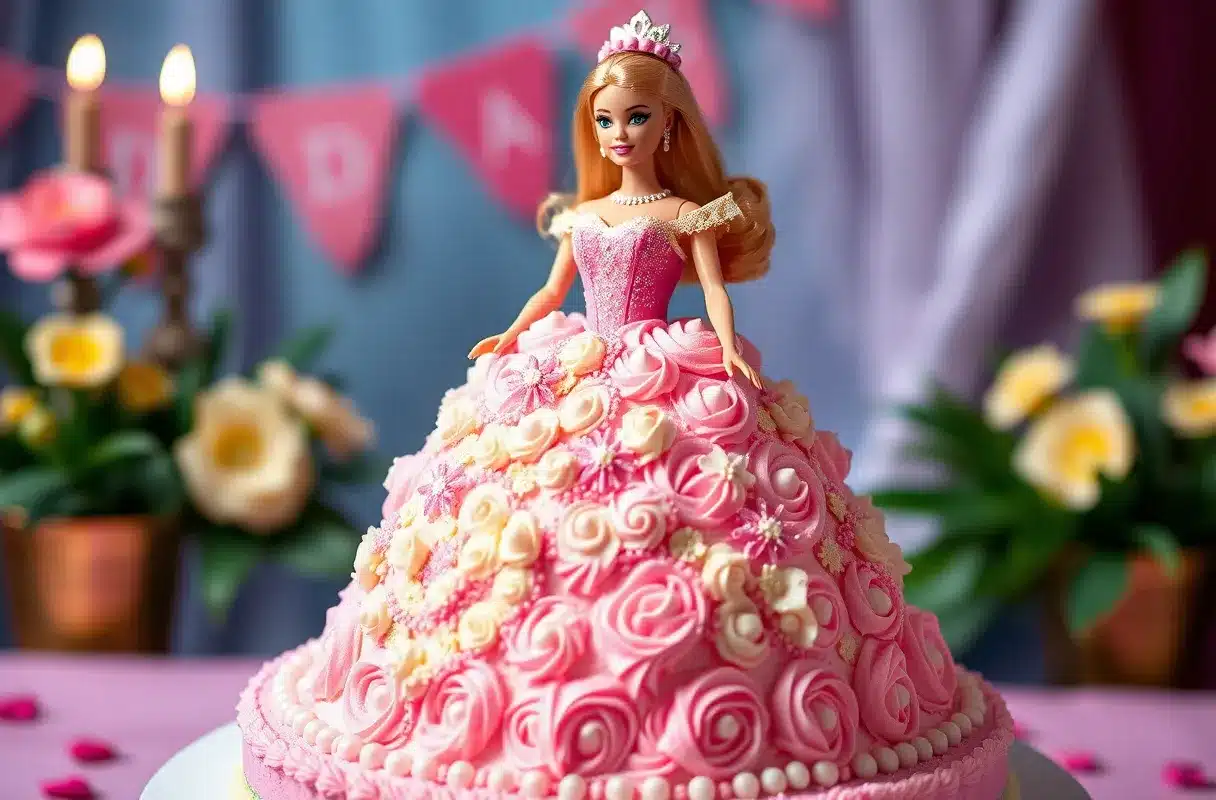
- Decorate the Dress: Use piping bags with different tips to create ruffles, rosettes, or other designs for Barbie’s dress. You can also use food coloring to make the frosting any color you like. To create an ombre effect, gradually add more food coloring to your frosting as you move up the cake.
- Add Finishing Touches: Add edible glitter, sugar pearls, or fondant flowers to give the cake an extra special touch. These small details can really make the cake look magical and elegant.
Tips for Success
1. Use a Dense Cake Batter

A dense cake batter, such as pound cake or butter cake, works best for a doll cake. It provides stability, which is important when carving and stacking the layers. Lighter cakes like sponge or chiffon may crumble more easily, making the assembly process more challenging.
2. Adjust Baking Time Accordingly
Since cake pans vary in size, you may need to adjust the baking time. Always keep an eye on the cakes and use a toothpick to check for doneness. If the toothpick comes out clean or with a few crumbs, the cake is ready.
3. Be Creative with Decorations
Decorating is the most fun part of making a doll cake. Use different colors, textures, and piping techniques to create a unique design that matches the theme of the event. You can also add accessories like edible flowers or even small candies to make the dress look even more detailed.
4. Use a Cake Turntable
If you have a cake turntable, use it while decorating. It makes it easier to apply frosting evenly and create intricate piping designs.
5. Chill Between Steps
Chilling the cake between steps can make it easier to work with. For example, chilling after applying the crumb coat helps the final layer of frosting go on smoothly without mixing with crumbs.
Additional Decorating Ideas for Your Doll Cake
1. Create a Fairy Tale Princess Dress
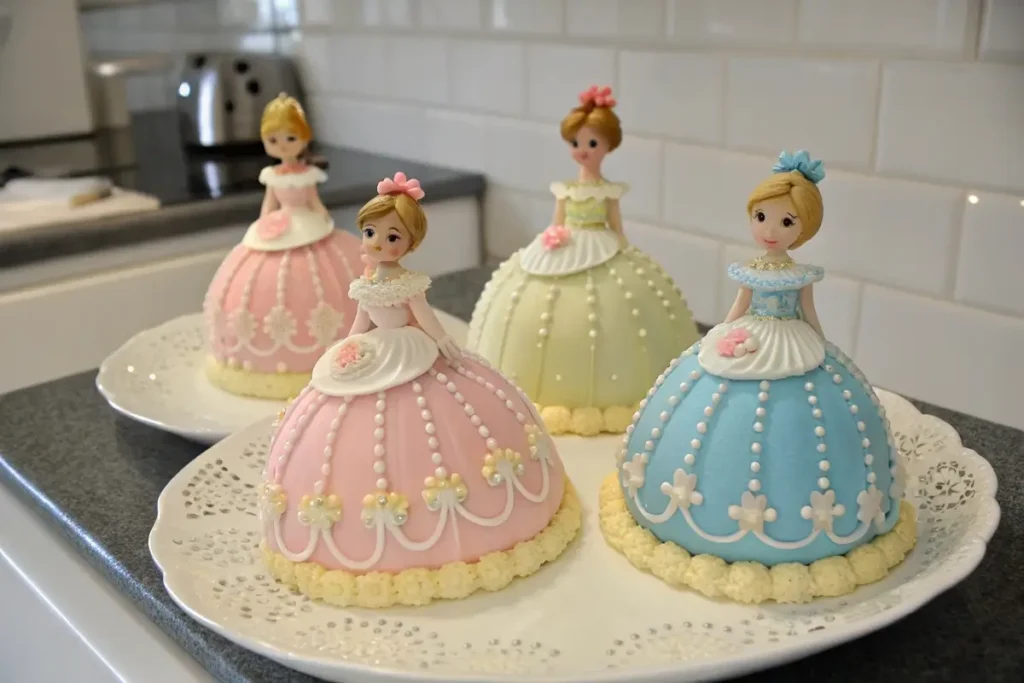
To give your doll cake a fairy tale look, consider using pastel colors like pink, lavender, or sky blue. Add edible glitter for a sparkling effect. You can also pipe on ruffles and flowers to create a princess gown that looks like it came straight out of a storybook.
2. Add Fondant Accessories
Fondant is a great way to add intricate details to your doll cake. You can use fondant to create accessories like bows, flowers, or even a tiara for the doll. Fondant can also be used to create a smooth, polished finish for the dress.
3. Ombre Frosting Technique
For a trendy and stylish doll cake, try an ombre frosting effect. Start with a deep color at the base of the cake and gradually lighten the color as you move upward. This creates a beautiful gradient effect that adds depth and interest to Barbie’s dress.
4. Use Piping Techniques for Texture
Use different piping tips to add texture to Barbie’s dress. For example, use a petal tip to create elegant ruffles, or use a star tip to make rosettes. A grass tip can also be used to create a textured look that resembles lace or fabric.
5. Themed Doll Cakes

You can customize the doll cake to fit a specific theme. For example, you can make a mermaid-themed doll cake by using teal and purple frosting and adding fondant seashells. Alternatively, create a winter-themed doll cake with white and blue frosting, snowflake decorations, and a silver tiara.
FAQs: How to make doll cake step by step?
How Do I Make Sure the Doll Stays in Place? (Stabilizing Doll in Cake)
To ensure the doll stays securely in place, wrap the lower half of the doll in plastic wrap before inserting it into the cake. This will help keep it stable and prevent any frosting from getting on the doll. You can also add a bit of frosting around the base of the doll to help secure it in place.
What If My Cake Layers Are Uneven?
If your cake layers are uneven, use a serrated knife to level them before stacking. This will help create a stable base for the doll and ensure the cake looks even. Don’t worry if the layers aren’t perfect—frosting can help smooth out minor imperfections.
Can I Use Fondant to Decorate the Doll Cake?
Yes, fondant is a great option for decorating a doll cake. It provides a smooth, polished finish and allows you to add intricate details like bows and flowers. Fondant can be used to cover the entire cake or to create accents that add depth and texture to the design.
How Do I Store the Doll Cake?
To store the doll cake, cover it loosely with plastic wrap and keep it in a cool, dry place. If you used perishable frosting, store the cake in the refrigerator. The cake is best enjoyed within 2-3 days of baking to ensure freshness.
What Type of Frosting Should I Use for a Doll Cake?
Buttercream frosting is a popular choice for doll cakes because it is easy to work with and holds its shape well for piping decorations. Whipped cream frosting can also be used, but it may be less stable, especially in warmer temperatures. If you want a very smooth finish, fondant is an excellent option.
How Can I Transport the Doll Cake Safely?
To transport the doll cake, place it on a sturdy cake board and use a cake box that is tall enough to accommodate the doll. Make sure the cake is chilled before transport to keep it stable. You can also use a small amount of non-slip mat under the cake board to prevent it from sliding during transport.
Final Steps: How to make doll cake step by step?
How to make doll cake step by step? It may seem challenging at first, but with the right tools, ingredients, and a bit of patience, you can create a stunning doll cake that will impress everyone. Whether it’s for a birthday or a special celebration, this guide provides all the steps you need to succeed. Get creative, have fun, and make memories with your loved ones by baking a beautiful doll cake!
— END OF ARTICLE —
